Follow the Steps Below To Create A Blog Post
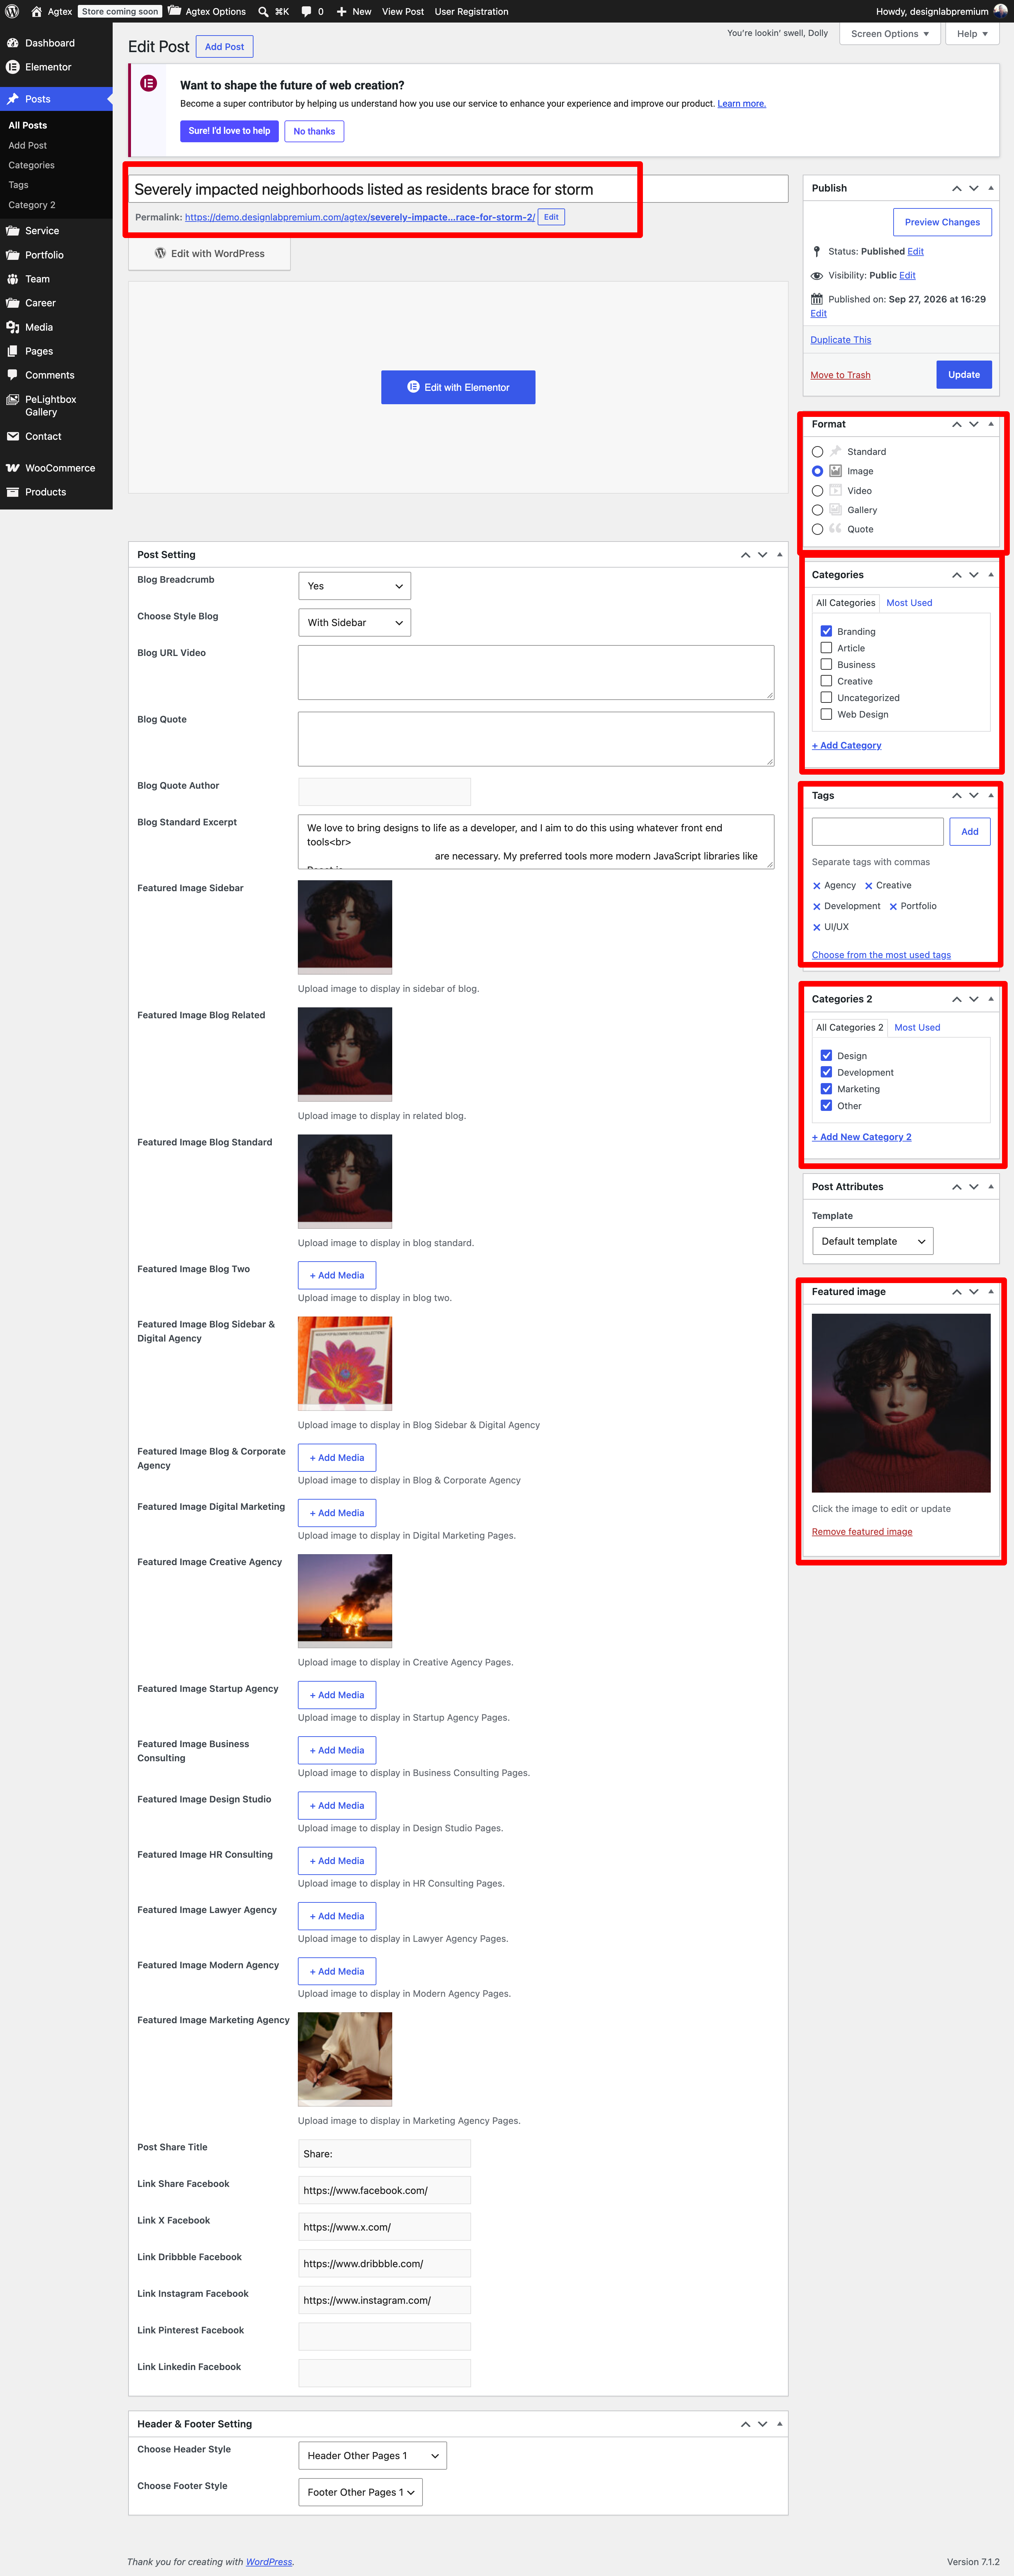
Step 1 – Navigate to Posts in your WordPress admin. Step 2 – Click on Add New to make a new post. Create a title and insert your post content in the editing field. You can use any of our short code builder elements inside the post. Step 3 – Choose Format from the right side. Step 4 – Add Categories and Categories 2 from the right side. To assign it to the post, check the box next to the Category name. Step 5 – Add Tags from the right side. Type the name of the tag in the field, separate multiple tags with commas. Step 6 – For a single image, click the first Featured Image Box, select an image and click “Set Featured Image”. Step 7 – Add other Featured Images and information. Step 8 – Choose Header and Footer. Step 9 – Once you are finished, click Publish to save the post.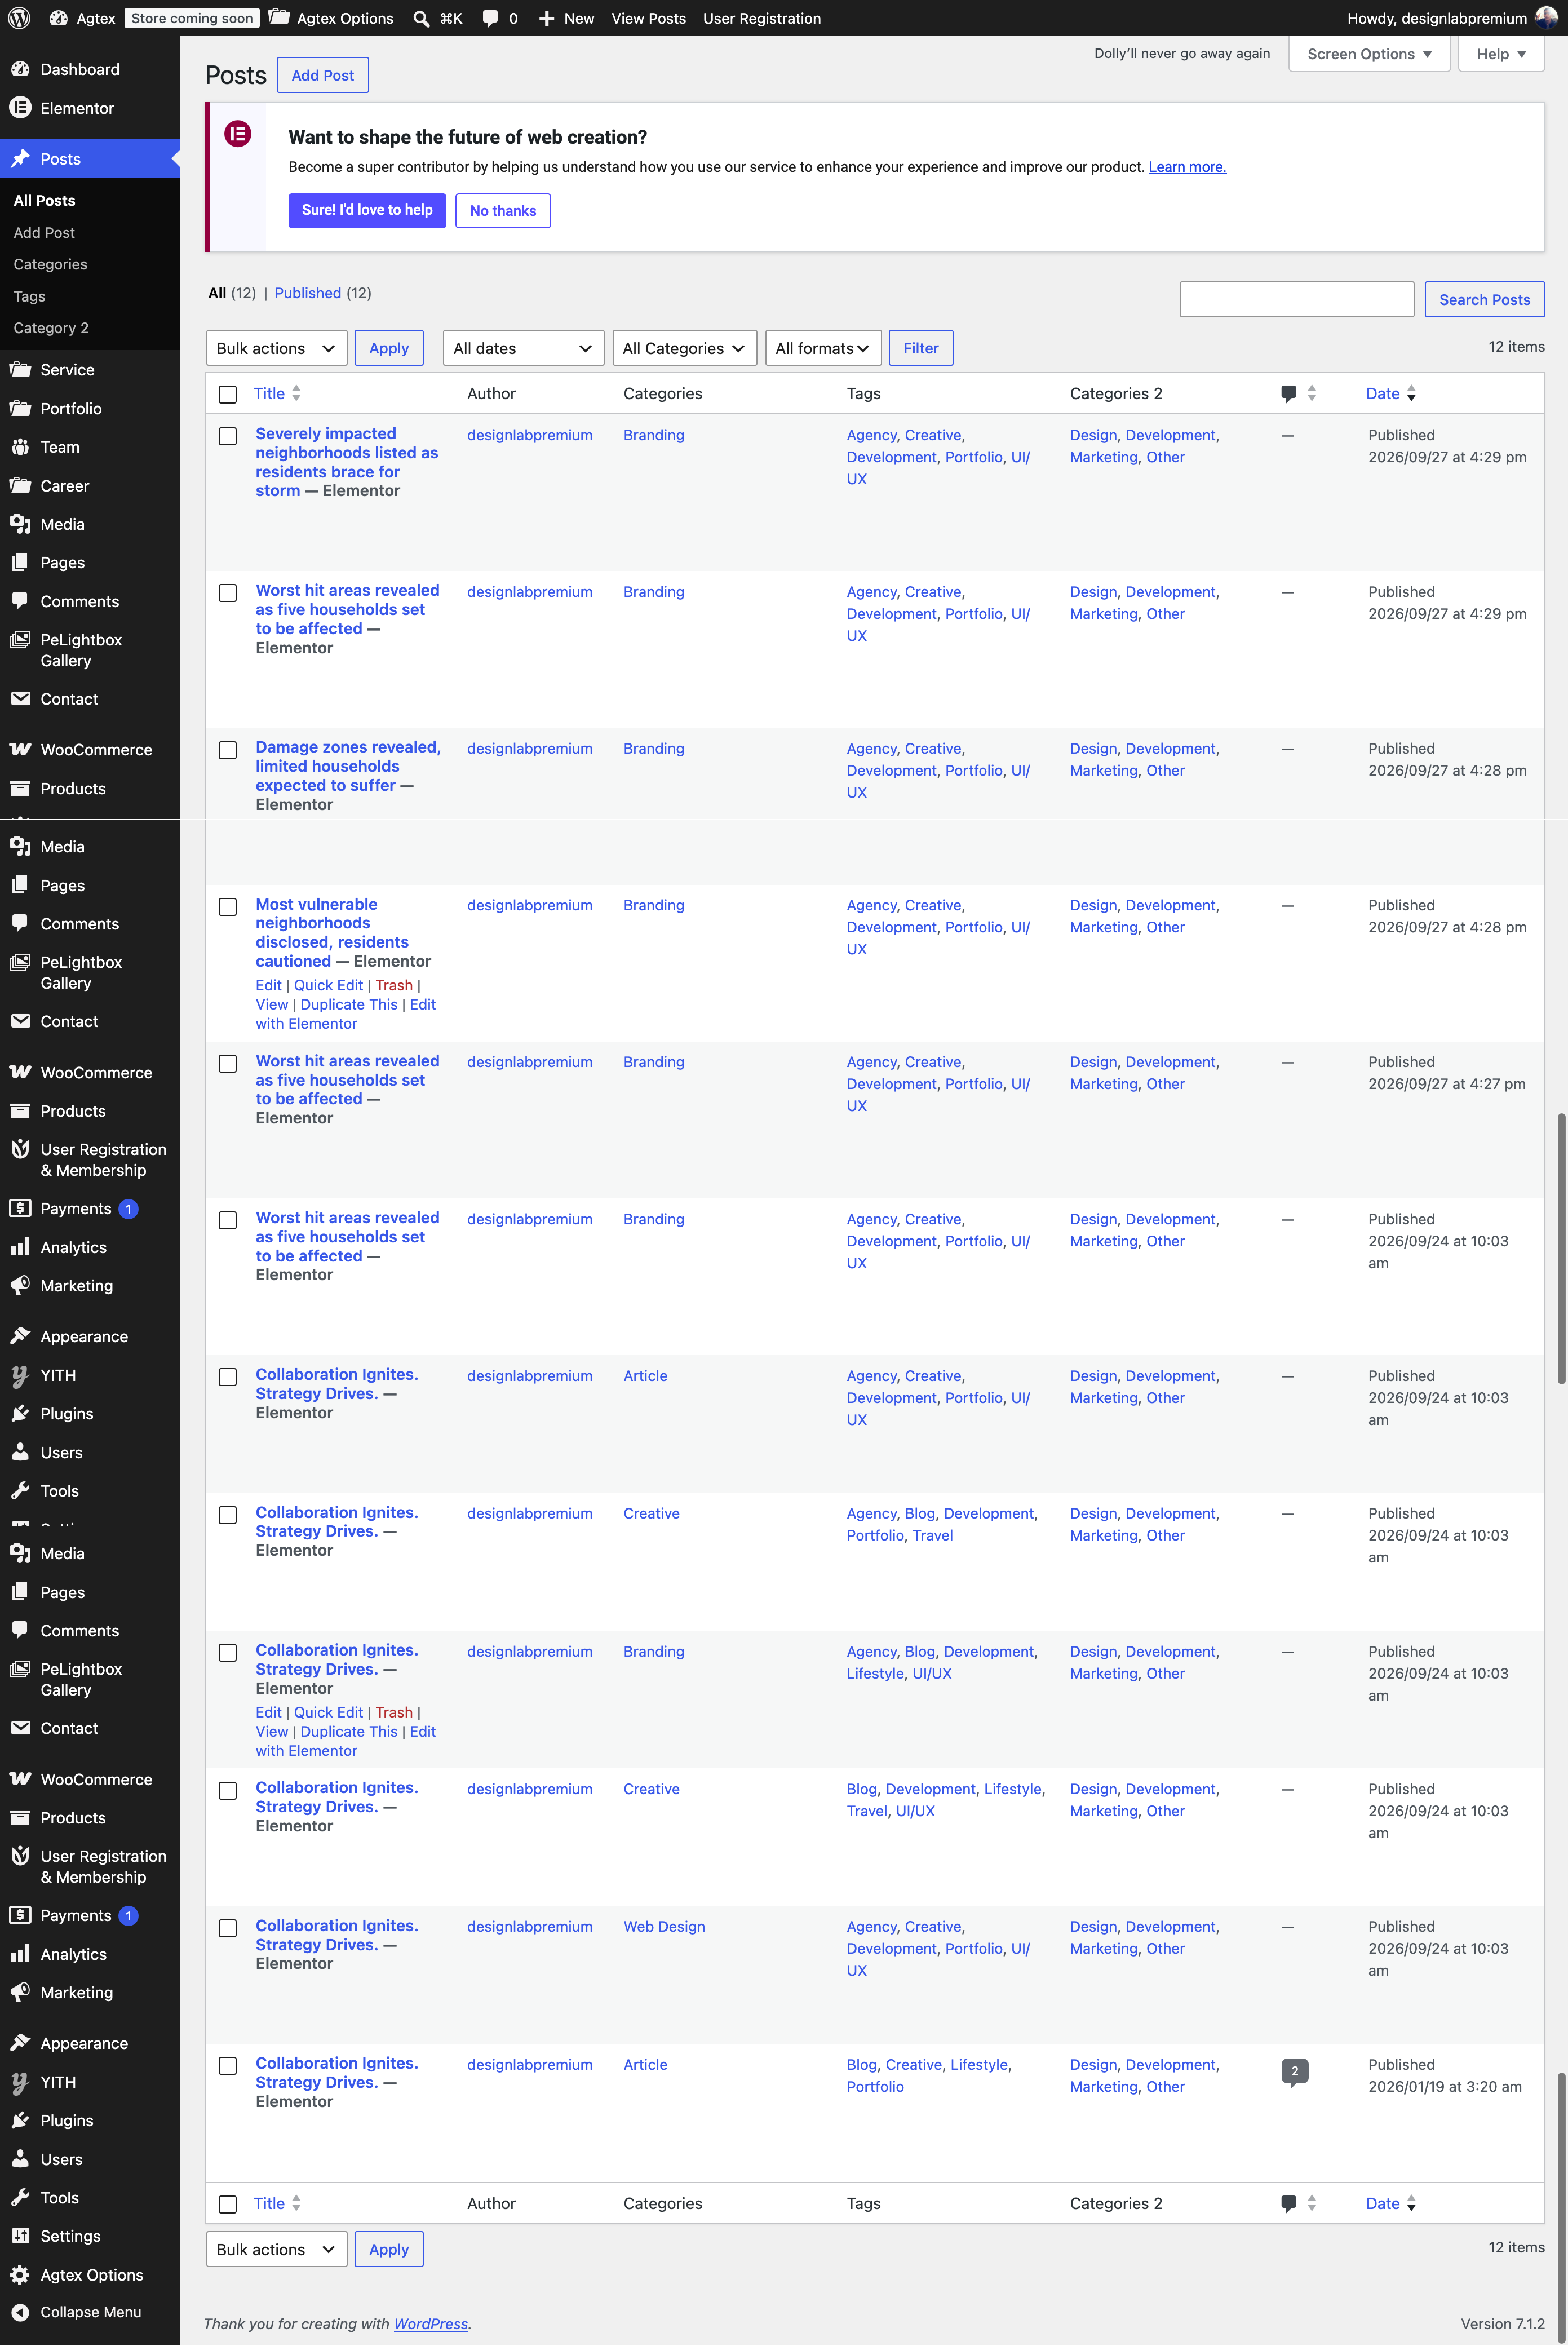
Here Is A Screenshot That Shows The Various Areas Of The Blog Post Page Described Above.